Ready-to-flash image
No Linux installation or command line is required. Write the supplied image to a microSD card with Raspberry Pi Imager.
SROVA Cast
SROVA may be headless, but your listening experience doesn’t have to be.
A focused visual companion
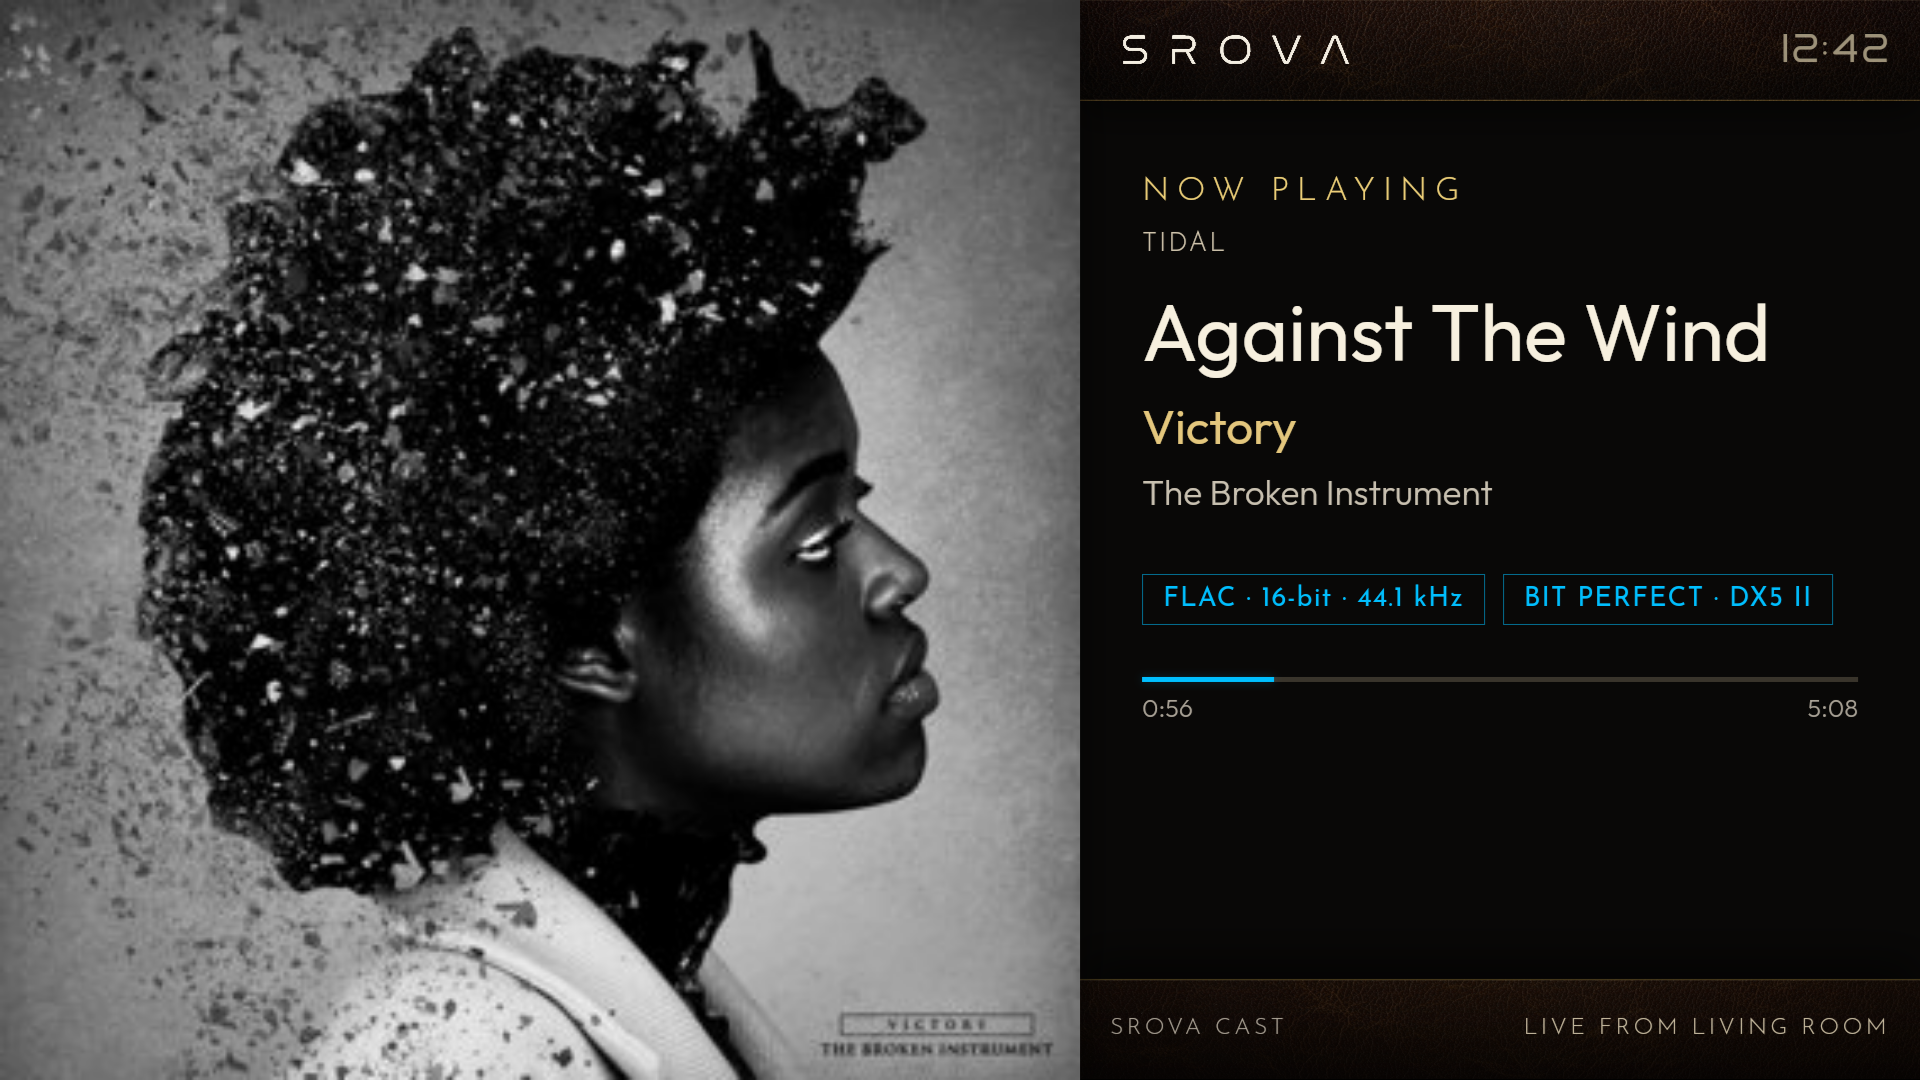
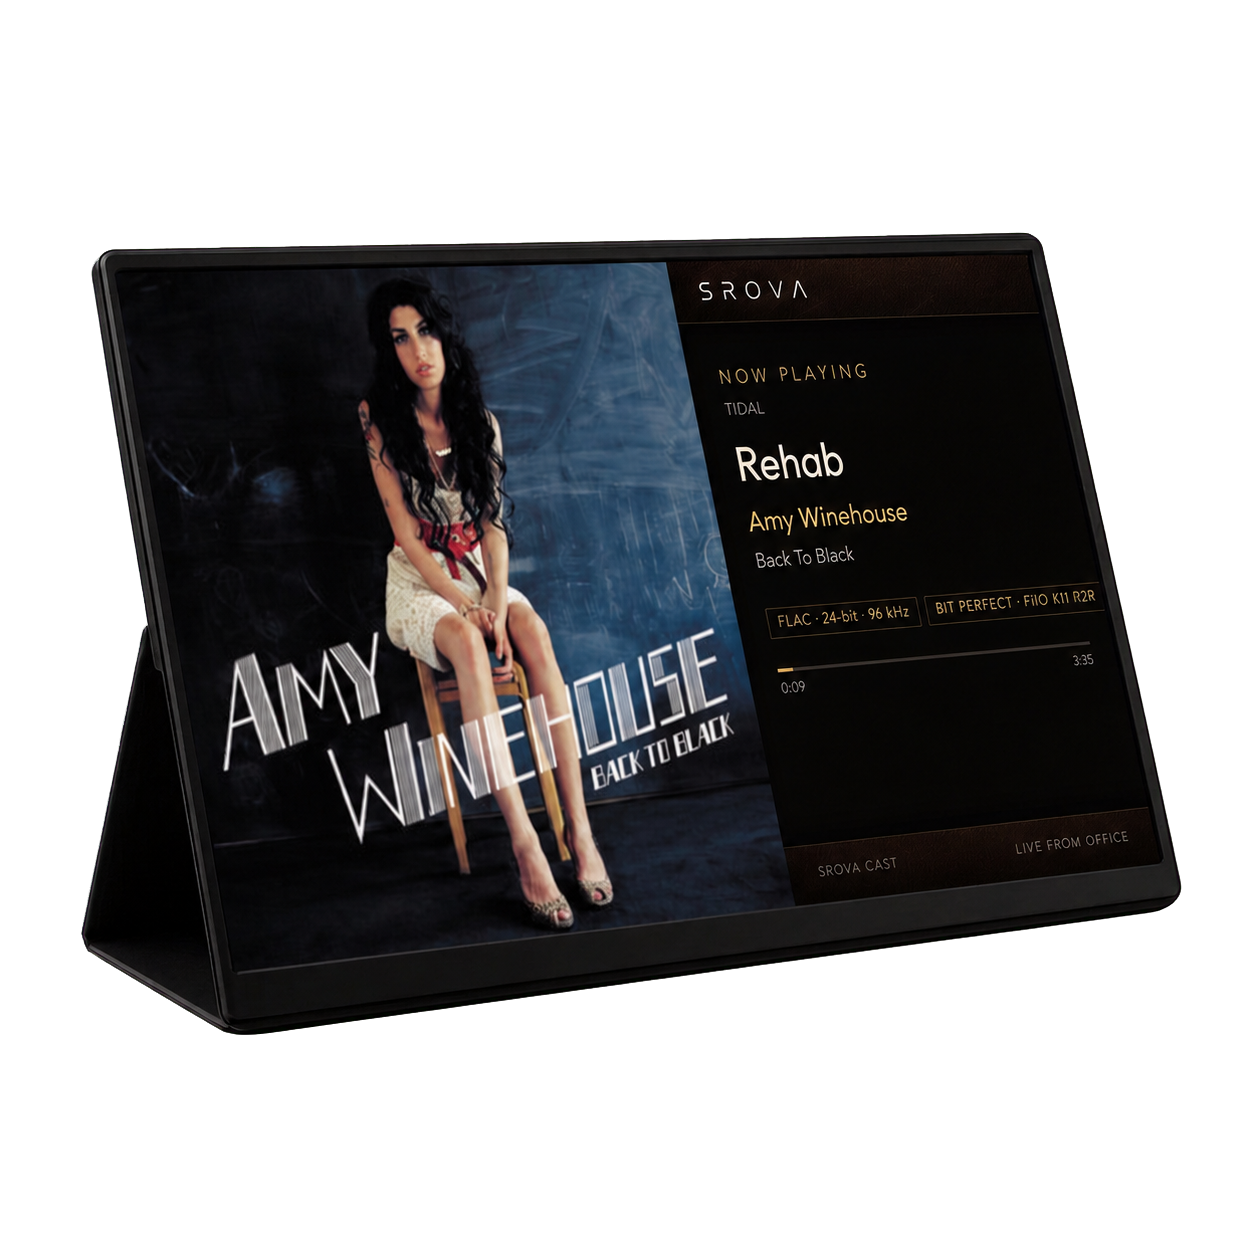
SROVA Cast sends the Now Playing experience to a dedicated screen. Your music remains on the SROVA player, with audio continuing through its connected DAC exactly as before.
Only the visual is cast. SROVA Cast does not reproduce, route or alter the audio.
No Linux installation or command line is required. Write the supplied image to a microSD card with Raspberry Pi Imager.
Use the SROVA app on your phone to connect the Cast display to your home’s 2.4 GHz Wi-Fi network.
See album art, track details, format information and playback progress while music plays, with the bespoke 24-hour SROVA Clock presented when the display is standing by.
Every clean card creates its own machine identity and unique setup-network name when it starts for the first time.
On first boot, the Cast device expands its root partition and filesystem to use the available microSD card space.
The public image contains no saved Wi-Fi details or development-device credentials, and SSH is not installed.
SROVA Clock
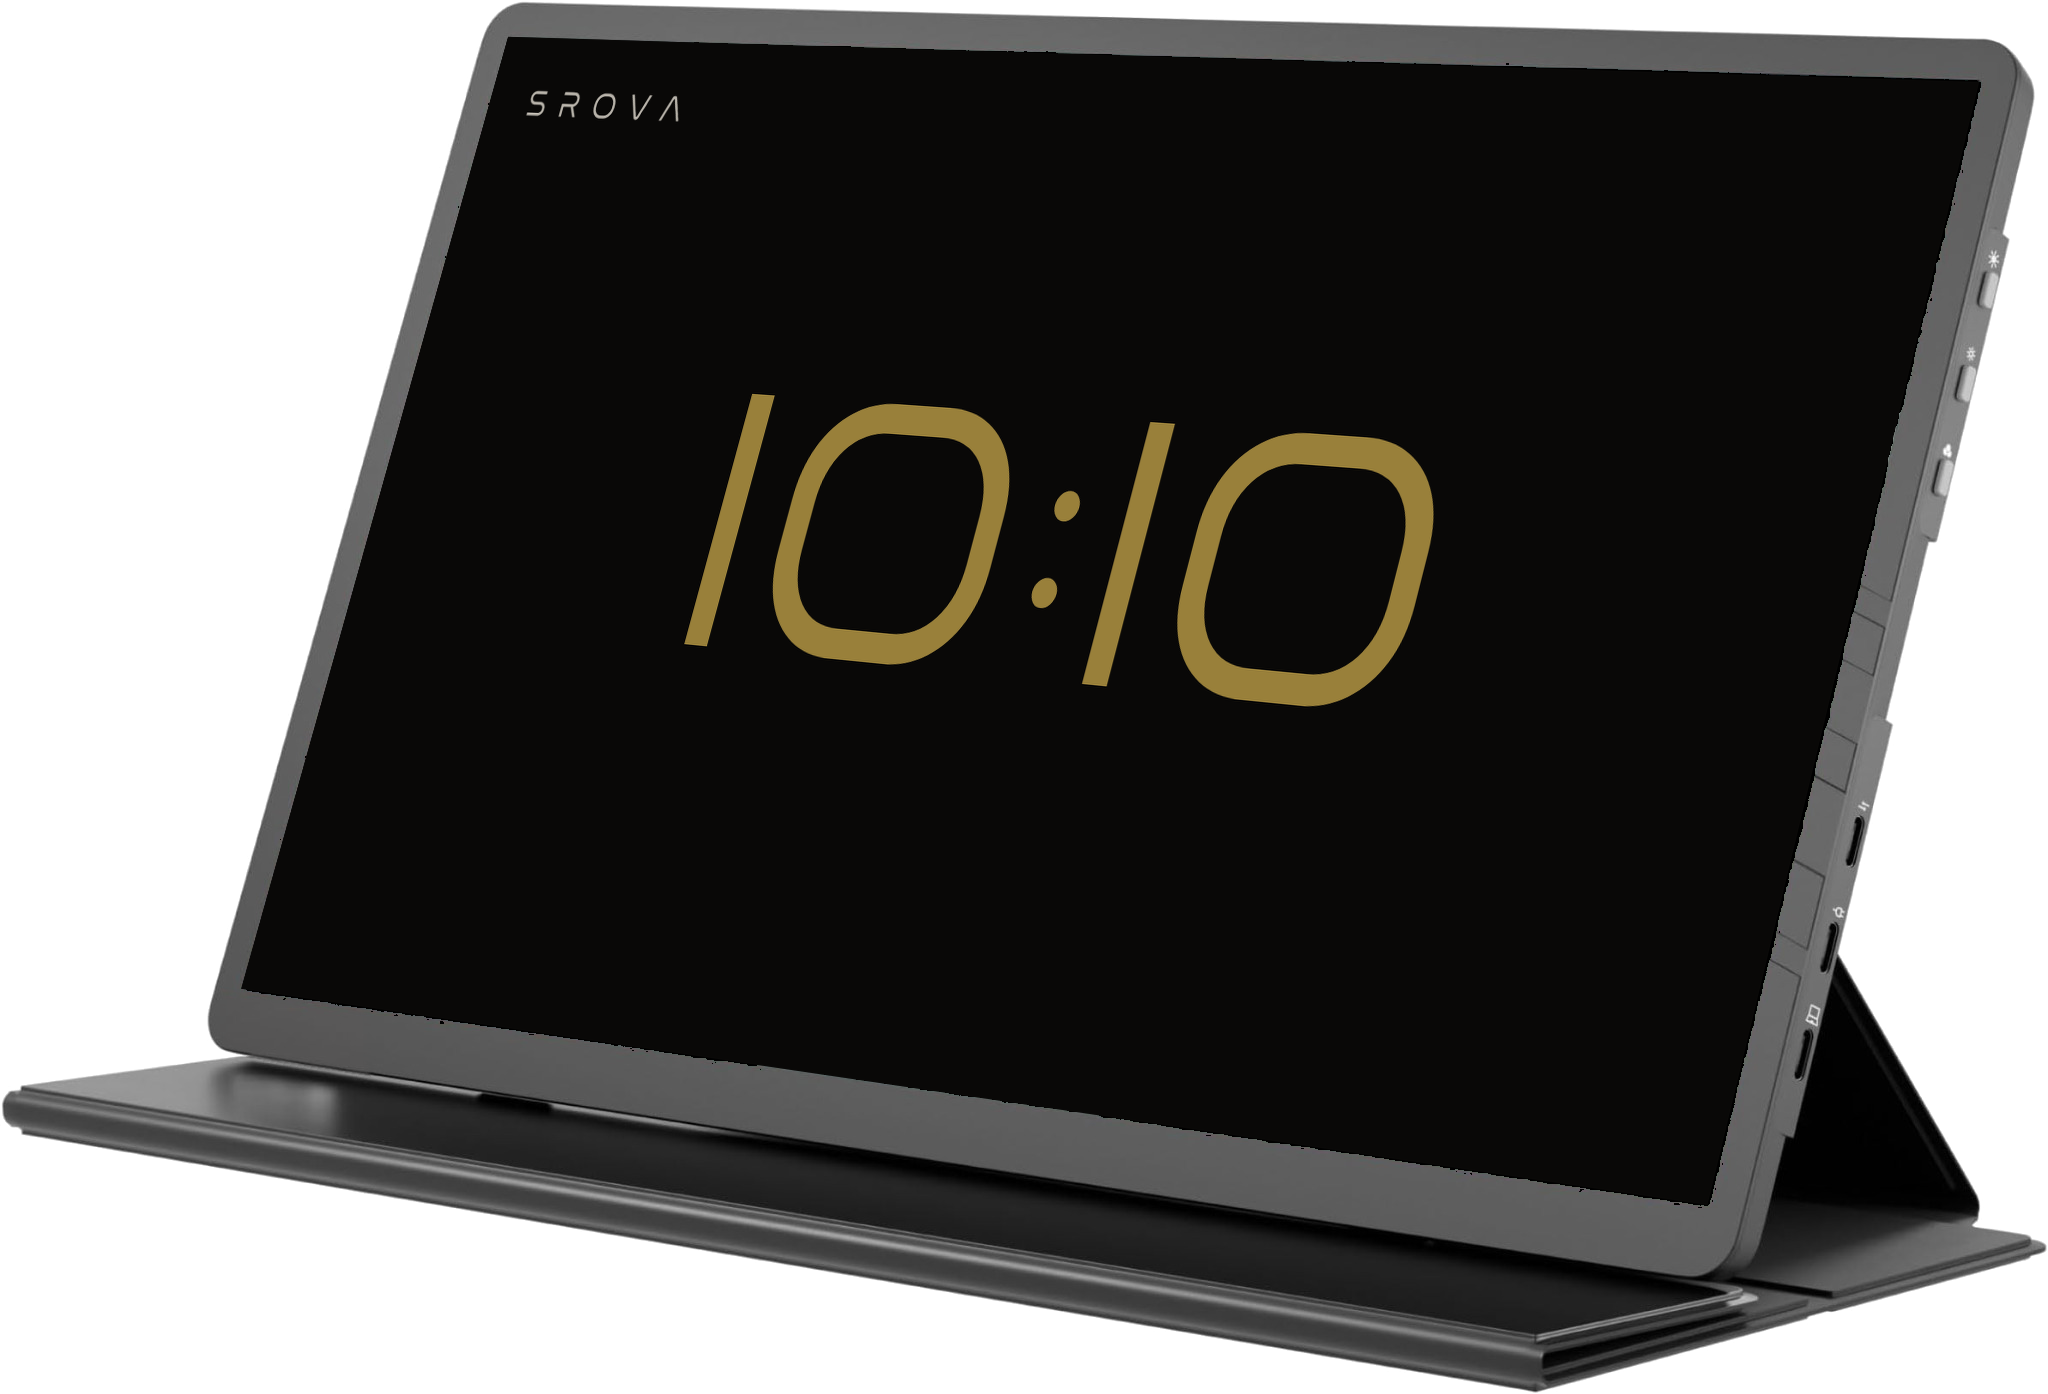
When the music stops, SROVA Cast becomes a functional piece of art. The SROVA Clock uses our own bespoke SROVA font, giving its 24-hour display a character designed specifically for the listening room.
Quiet, architectural and deliberately restrained, it is designed to sit naturally in both modern and classic listening spaces — something to leave on display, not something to hide when the playlist ends.
And it stands on its own. Once the initial Cast setup is complete, the SROVA player does not need to remain switched on. Leave the Cast display powered and it continues to work as a standalone SROVA Clock for the room.
Before you begin
A Pi Zero 2 W drives the screen while your existing SROVA player and DAC continue handling the music.
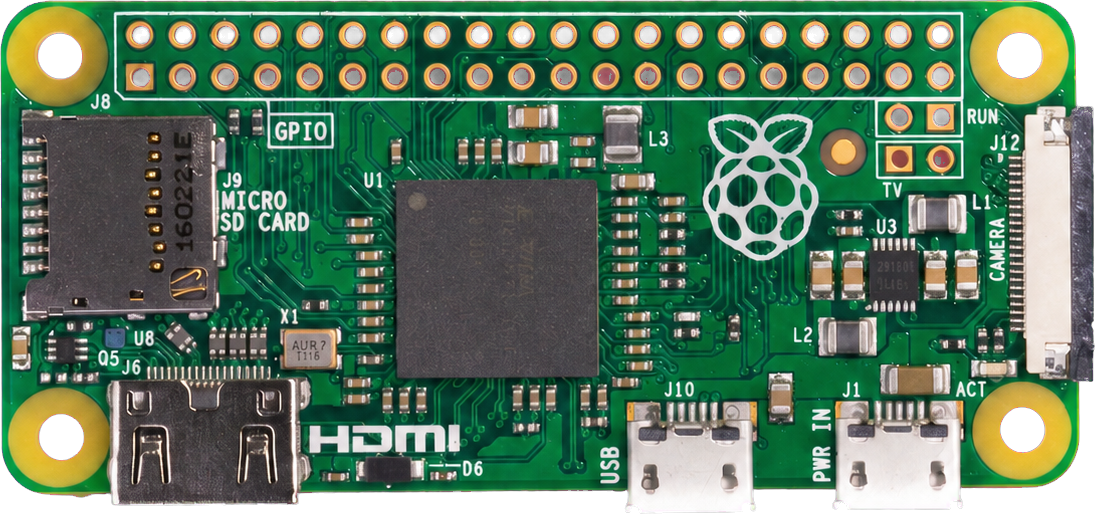
Version 1.4 is built and tested specifically for the 64-bit Pi Zero 2 W.
8 GB minimum. A good-quality card of 16 GB or larger is recommended.
A suitable power supply, display, and the required mini-HDMI cable or adapter.
An existing SROVA player on the same network. Music continues through that player and its connected DAC.
A device that can run Raspberry Pi Imager, plus the SROVA app for setup and casting.
The Pi Zero 2 W needs access to a 2.4 GHz home Wi-Fi network.
Compatibility note: This release supports the Raspberry Pi Zero 2 W only. Support for other Raspberry Pi models should not be assumed.
Part one
You do not need to open the image file or know Linux. Raspberry Pi Imager handles it for you.
Before writing: Raspberry Pi Imager will erase the selected microSD card. Check the card carefully and copy off anything you want to keep.
Download the SROVA Cast v1.4 .img.xz file to your phone or computer. You do not need to extract it.
Install and open Raspberry Pi Imager. Insert the microSD card into your phone or computer using a suitable card reader.
Under operating systems, choose Use custom, then select the downloaded .img.xz file. Choose the correct microSD card as the storage device.
Do not preconfigure Wi-Fi, a username, a password or SSH. If Imager offers OS customisation, choose No or skip it.
Start writing, allow Imager to verify the card, then eject it safely. Insert the card into the powered-off Pi Zero 2 W.
Part two
Keep your phone nearby. SROVA Cast setup starts from SROVA Remote’s App Settings.
Connect the display using the required mini-HDMI cable or adapter. Then connect power to the Pi.
A black screen and SROVA startup banner can appear while the receiver starts. The first boot takes longer than later boots because the card and receiver identity are prepared.
After the SROVA startup banner appears, open SROVA Remote. Tap Back to open App Settings, then choose Setup SROVA Cast Receiver and follow the prompts. When asked, join the open network named:
SROVA Cast Setup XXXXXThe final five characters are unique to your receiver. There is no universal setup password.
Tip: If your phone avoids the setup Wi-Fi because it has no internet, temporarily turn off mobile data while connecting to the SROVA Cast setup network.
In the SROVA setup flow, choose your 2.4 GHz home Wi-Fi network and enter its password. Wait while the receiver joins it.
Choose the new Cast display in SROVA and begin casting the visual experience. Audio continues through your SROVA player and DAC while the SROVA Clock standby presentation hands over softly to the Main Now Playing screen.
After setup, you can change the receiver’s friendly name from SROVA Remote without repeating onboarding. The new name is stored persistently on the receiver.
Setup-network note: The temporary setup network is deliberately open and is intended only for the brief onboarding process. Complete setup in the SROVA app rather than looking for a browser address.
Release confidence
Version 1.4 was validated from a clean 32 GB microSD card on a Raspberry Pi Zero 2 W.
Boot splash, first-start behaviour, SROVA Clock standby presentation and soft visual transitions.
Unique setup network, guided Wi-Fi onboarding and persistent friendly-name changes after setup.
Receiver discovery, Cast selection and activity-aware ownership handover between controllers.
The SROVA Clock and Main Now Playing presentations follow playback state while audio stays on the SROVA player.
Automatic root-partition and filesystem expansion.
No saved Wi-Fi profile, receiver state or development identity.
Optional integrity check
Verification is optional, but it confirms that the large download arrived unchanged.
f6f370ffa1bdeed288736d3c796bcd35559af8e3145e4cd3f6a3f448880d12f1 SROVA_Cast_v1.4_Pi_Zero_2W_arm64.img.xz
Prefer a checksum file? View the published SROVA Cast SHA-256 checksum. This is separate from the Linux-package checksum file.
Designed as an appliance
The release contains no saved Wi-Fi profile, receiver state or machine identity.
SSH host keys and development-device credentials are not carried into the public image.
SSH is not installed in the initial public image.
The appliance account has no password or sudo access and cannot be used for SSH login.
Ready to begin?
Download the verified v1.4 image for Raspberry Pi Zero 2 W and follow the steps above.
Download SROVA Cast v1.4